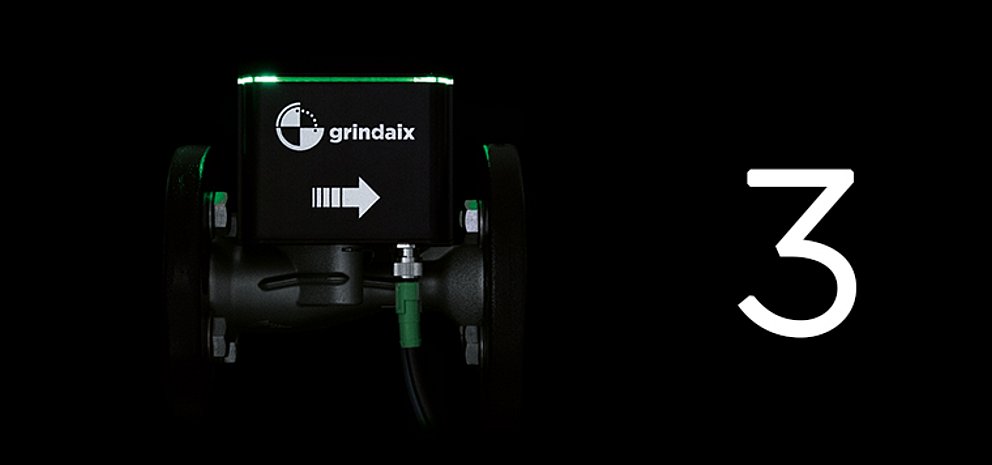
GRX-Q - Displacement meter
In displacement meters, the moving measuring walls are driven by the medium to be measured. The movement is recorded and counted. Due to the design of displacement meters, measurement errors mainly occur due to leakage between the fixed and moving components of the measuring setup. The gap losses are determined by the viscosity of the measuring medium and the physical behavior of the flow. These losses are increased by the wear of the material. If the meter is overloaded, wear occurs much more quickly.
As there is little clearance between the fixed and moving measuring chamber walls, these meters are susceptible to contamination in the medium. This makes prior filtration to an acceptable level of purity for the meter essential.
Two displacement meters are described in more detail below. These include the annular piston meter and the oval gear meter.
Ring piston meter
The design of the ring piston meter is based on two hollow cylinders that are connected to each other via a central web (see Fig. 2-5). These hollow cylinders form the fixed measuring chamber walls. A slotted annular piston is fitted inside the measuring chamber, which is centrally mounted via a pin and guided radially via the slot. The annular piston moves along the inner and outer measuring chamber walls of the small or large hollow cylinder, as well as along the central web. Meanwhile, the pin of the annular piston performs a purely circular movement.
The inlet (E) and outlet openings (A) are located either on the end face of the measuring chamber or on the opposite end faces. The two chambers with the volumes V1 and V2, separated by the annular piston, are filled or emptied in such a way that there is no connection between the inlet and outlet openings at any time. The movement sequence can be described in the following phases. [BON-02]

The inlet (E) and outlet openings (A) are located either at the end of the measuring chamber or on the opposite ends. The two chambers with the volumes V1 and V2, separated by the ring piston, are filled or emptied in such a way that there is no connection between the inlet and outlet openings at any time. The movement sequence can be described in the following phases. [BON-02]
Liquid flowing into the measuring chamber pushes the piston counterclockwise out of its rest position. As soon as the inlet opening is even partially released, the liquid also presses on the outer surface of the annular piston and thus supports the original direction of movement.
As soon as the annular piston has reached the opposite point of the measuring chamber, the liquid pressure only acts on the outer piston surface. The volume V2 reaches its maximum in this position. The volume V1 of the outer chamber space is the same on both sides (inlet and outlet).
The ratio of the volumes V1 / V2 increases as the rotary movement continues. As a result, the liquid to be measured in the volume V2 is pressed out through the outlet opening A.
The liquid to be measured has been pushed so far beyond the outlet opening that the ring piston is back in its initial position.
The measuring principle is the same for measuring processes with forward and reverse flow. This means that the same measuring accuracy can be achieved in both cases with the annular piston meter. This mainly depends on the manufacturing accuracy of the piston and the measuring chamber. In addition, care must be taken to separate the air entrained in the fluid so that it is not also measured.
Oval gear meter

This flow meter uses two oval gear wheels as a movable measuring chamber wall, which interlock positively and rotate in opposite directions (see Fig. 2-6). The oval gears are moved by the pressure of the inflowing liquid. During the measurement, a separation of partial quantities takes place, the volume of which is determined by the shape of the outer measuring chamber walls and the oval gears. With each full rotation, the oval wheel meter delivers a precisely defined quantity of liquid. This can be recorded via a counter as a function of the revolutions and simultaneously displayed in standard volume units as the total volume pumped.
The oval gear meter is one of the high-speed liquid meters with movable partitions. It can measure high flow rates in relatively small installation spaces, whereby the instantaneous flow rate is almost constant.
The oval gears are driven as a result of the pressure difference between the inlet and outlet sides caused by the fluid. In order to keep the pressure losses and frictional forces as low as possible, the oval gears only touch each other along the meshing line of the toothing. There is no contact with the measuring chamber wall or the end faces. This requires a high degree of dimensional accuracy when manufacturing the gears in order to keep the resulting gap losses as low as possible. The achievable measuring accuracy essentially depends on the gap losses.
Even with small meters, the losses can be kept to a minimum due to the small clearance between the oval gears and the measuring chamber walls, as well as the sealing between the gears by several teeth. The following further advantages can also be mentioned:
- high measuring accuracy with a wide flow range
- largely independent of viscosity
- low pressure losses
- high starting torques
- long service life
However, the high sensitivity to dirt and the noisy operation of these flow meters are disadvantageous.
Due to its advantages, the oval gear meter is not only suitable for counting the volume of liquids, but also as a sensor and signal transmitter for control and regulation tasks.
Products relevant to this article:
GRX-Q
You may also be interested in these articles from our magazine:
Coolant filtration systems
Treatment is a crucial part of the cooling lubricant supply with a major impact on production results and efficiency. We have described and compared the usual filtration processes for cooling lubricants.
GRX-Q - Differential pressure method
Flow measurement using the differential pressure method is frequently used in chemical engineering and similar industries.
GRX-Q - Volumetric measuring method
The volumetric measuring method is based on the measurement of partial quantities of a medium to be measured. The medium flowing through a defined measuring chamber or via an analog rotation of measuring vanes is added up.
