Procedure for checking for grinding burns
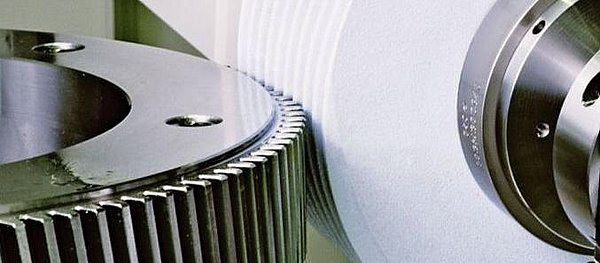
During the grinding process, thermal damage often occurs on the component. This is caused by excessive heat build-up. The consequences are a loss of quality and high costs if, for example, components have to be rejected.
To prevent this and ensure compliance, it is essential that ground components are inspected as part of the quality control process. It is not uncommon for grinding burn on a ground component to be invisible to the naked eye. As a result, various grinding burn inspection methods have been developed to ensure reliable detection of grinding burn.
The difference between destructive and non-destructive testing
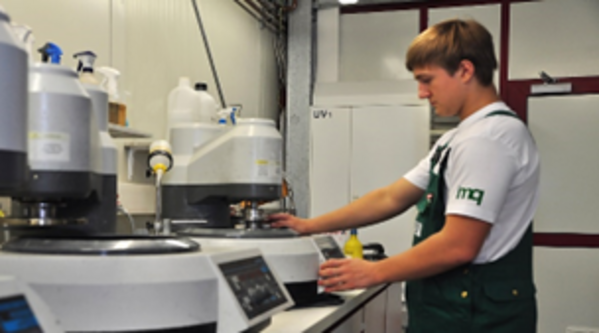
Grinding burn inspection methods help to ensure that only components without grinding burns leave the production plant. Grinding burn inspection is basically divided into two main areas: non-destructive and destructive methods.
In non-destructive grinding burn testing, the manufactured component remains intact during and after the test. These test methods enable complete quality assurance without the loss of components due to destruction. Non-destructive grinding burn testing includes Barkhausen noise or nital etching.
The destructive grinding burn test describes an analysis in which the component has to be destroyed. A destructive grinding burn test is precise and unambiguous, but unsuitable for ensuring cost-effective grinding burn detection in series production. These test methods are therefore only applicable in individual cases.
Non-destructive testing
The best-known non-destructive testing methods for grinding burns include Barkhausen noise and nital etching. Barkhausen noise is a magneto-inductive process and nital etching is a chemical method, which is why the two methods are fundamentally different in structure.
Barkhausen noise
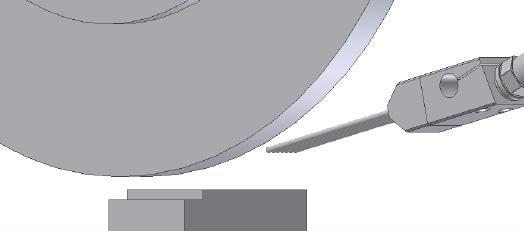
Electromagnetic properties of metallic materials are used to detect grinding burn during Barkhausen noise. A differential probe is used to generate a hysteresis loop or occurring amplitudes in the component. These are measured in the same operation. In principle, large measured amplitudes indicate tensile stresses in the component. Small amplitudes, on the other hand, indicate compressive stresses. The measured values obtained must then be related to the amplitudes of a previously measured component that is free of grinding burn. This reference component must have similar properties to the measured component. A tolerance band is defined on this basis. If the measured amplitudes are within this tolerance band, the component is recognized as free of grinding burn. Amplitudes above or below the tolerance limit have grinding burn.
Overview - Barkhausen method
- magnetic-inductive
- amplitude measurement
- component requires no grinding burn
- flexible
- can be used at short notice
- batch influence possible

The Barkhausen method is very flexible and can be used at short notice between the individual processing steps if necessary. In addition, grinding burn detection can be carried out without subjective influences from the inspector. However, a disadvantage of the Barkhausen method is the influence of the batch on the measurement results. Since the batches of the material used often differ, the validity of the reference measurement can change. This means that even components that are free of grinding burns may be declared as scrap. Similarly, it may happen that grinding burn zones cannot be reliably detected because the amplitudes overlap and grinding burn is consequently not recognized.
Nital etching
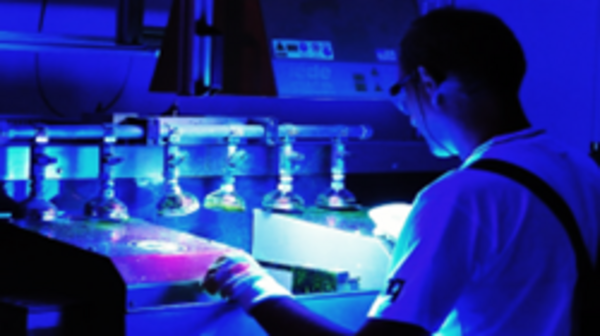
Nitric etching is a chemical test method used to identify grinding burn. In this process, the component is immersed in a bath, usually of nitric acid (HNO3), rinsed and then visually inspected for surface discoloration. In the case of components that show grinding burn, the surface (carbon) discolors in various shades of gray as a result of a reaction with the acid. These make the intensity of the grinding burn visible. Afterwards, the component can be manually evaluated using an optical gray scale. The continuous process can be carried out both automatically and manually. To date, nital etching is the only internationally standardized grinding burn inspection method and can be used for all component geometries. However, it is subject to a large subjective influence by the inspector who performs the visual evaluation. For this reason, personnel must be specially trained for nital etching. Furthermore, high demands are placed on occupational safety and environmental protection when handling the necessary acid. Depending on the component, nitric etching results in a higher expenditure of time when testing for grinding burns. However, incorrectly prepared acid baths can lead to inaccurate measurements.
Destructive testing
In the case of destructive testing methods, the component can no longer be used after the test, which is why it is only used in individual cases and in the form of random sampling. However, these test methods are among the most accurate and unambiguous for detecting grinding burns. One of these methods is microhardness testing.
Microhardness testing
In addition to identifying defects such as grinding burns, microhardness testing is also important for evaluating mechanical or material properties. To test a workpiece using microhardness testing, the component must be destroyed by using a micrograph through the component as a test surface. Several hardness tests are carried out on the prepared test surface using the test method according to Vickers (HV).
Based on the measured hardness and the distribution of the hardness levels, it can be determined with certainty whether grinding burn is present on the examined component. However, microhardness testing is a complex procedure because it consists of several individual hardness measurements. The evaluation, destruction of the component and preparation require additional time and costs for personnel and materials.
Advantages of microhardness testing:
- Identification of failure (grinding burn)
- Evaluating properties
- Clear, reliable and accurate
Disadvantages of microhardness testing:
- Destruction of the component
- Complex
- Time-consuming and costly
All test methods at a glance
Overview: We have summarized all the test methods mentioned above and many more for you here, including their abbreviations and the principle of the method.
Non-destructive test methods:
| Procedure | Abbreviation | Principle |
| Nital etching | STE | chemical |
| Barkhausen noise | BHR | magnetic induction |
| Surface crack examination | PT | / |
| Ultrasonic examination | UT | mechanical |
| Eddy current examination | ET | electrical |
Destructive test methods:
| Procedure | Abbreviation | Principle |
| Microhardness testing according to Vickers | MHV | mechanical |
| Scanning electron micrograph | SEM | electron beam |
| ... |
Your questions – Our answers
Which abrasive belt test is most useful?
It is not possible to make a general judgment about usefulness. Each manufacturing company must decide for itself. In principle, it can be said that the destructive test methods are more accurate, but this is not possible without destroying the component. This results in a certain amount of scrap and thus rising costs. Non-destructive testing methods, on the other hand, reduce the number of rejects due to destroyed workpieces, but are also less accurate, which is why grinding burns can sometimes go undetected.
Is extensive grinding burn testing necessary?
It is challenging to detect grinding burn without a test procedure. It makes more sense to use a grinding burn test procedure because, even though the procurement of the necessary material and the execution can be both time-consuming and costly, the risk of grinding burn is greater. If grinding burn remains undetected and is sent to the customer, it will most likely result in an even more time-consuming and costly complaint.
Products relevant to this article:
You may also be interested in these articles from our magazine:
Grinding burn
Thermal edge zone damage due to structural changes - commonly known as grinding burn. We explain the material-technical background and provide initial approaches for preventing grinding burn.
Solving grinding burn problems
Solving a grinding burn problem? That's easier said than done! We have developed some solution strategies and summarized them for you in our magazine article on “Solving grinding burn problems”.
Grinding technology
Our article “Grinding technology” provides an overview of the complex topic of grinding technology with its many influencing factors. Here we offer you a complete overview of all relevant parameters.
Cool the grinding process properly
Cool the grinding process properly! This is easier said than done. We have compiled a list of the various parameters that need to be taken into account and which supply solutions are suitable or unsuitable here.
